Linux大補帖
雖然說是 Linux,但作業系統是以 Ubuntu 為準
VMware錯誤
Error while powering on: internal error
當VMware開啟的時候不正常關閉會出現的錯誤
法一、刪除記憶體檔案
法二(推薦)、開啓VMware服務
有時只有方法一有效,但方法二比較快
Error while opening the virtual machine: Taking ownership of this virtual machine failed
刪除lck檔
連線問題
- 不能上網
- eth0在ifconfig中消失
重新啟動服務(daemon)
1 | 舊版本linux |
在tty介面下重新開啟圖形介面
開啟tty1: Ctrl-Alt-F1
重啟gnome
1 | sudo service gdm restart |
此時就會重新回到gnome登入畫面
在gnome沒有反應時十分有效
此外,圖形介面預設為tty7: Ctrl-Alt-F7
在遠端連線中顯示圖形化介面
本機
1 | export DISPLAY=:0.0 |
遠端機器
1 | export DISPLAY=localhost:11.0 |
避免誤刪檔案
使用safe-rm套件,可防止意外(或惡意)刪除系統重要資料
tar 壓縮
*.gzgzip 程式壓縮的檔案*.tartar 程式打包的資料,並沒有壓縮過*.tar.gztar 程式打包的檔案,其中並且經過 gzip 的壓縮
1 | tar [-zxcvfpP] filename |
| 參數 | 用途 |
|---|---|
| -c | 執行壓縮 |
| -x | 執行解壓縮 |
| -z | 使用gzip壓縮/解壓縮(應對應.gz的檔案) |
| -t | 查看壓縮檔裡面的檔案 |
| -v | 壓縮的過程中顯示檔案 |
| -f | 使用檔名,-f之後要立即接檔名 |
| -p | 使用原檔案的原來屬性(被打包的檔案將不會依據使用者的身份來改變權限) |
| -P | 使用絕對路徑 |
| -N [DATE] | 比日期(yyyy/mm/dd)還要新的才會被打包進壓縮檔中 |
| --exclude [FILE] | 不要將指定的檔案打包 |
1 | tar -zcvf filename.tar.gz /home/test/* # 將 /home/test/ 這個目錄下的檔案全部打包並壓縮成為一個 filename.tar.gz 的檔案 |
如果使用絕對路徑,解開的檔案一定會和壓縮時的路徑一樣,萬一別人剛好有同名目錄,他的檔案就會被覆蓋了
→ 如果以『絕對路徑』來建立打包檔案,預設會將 / 拿掉,以策安全
清除垃圾筒
1 | rm -rf ~/.local/share/Trash/* |
搜尋檔案
1 | sudo updatedb # update database |
使用zsh取代bash
- 基本功能介紹
- bash 轉移 zsh (oh-my-zsh) 設定心得
- plugin介紹
安裝oh-my-zsh(設定較齊全的zsh)
1 | sh -c "$(curl -fsSL https://raw.githubusercontent.com/ohmyzsh/ohmyzsh/master/tools/install.sh)" |
更改主題
在~/.zshrc中修改
ZSH_THEME=[Theme Name]
主題列表
有些unicode字元無法顯示
需安裝powerline字型
powerline主題
- 在github上的repository
- 可配合git使用,分層也比較好看
![]()
- meaning of icons
- previous command failed (✘)
- Git
- Branch (顯示不出來的字元,岔路圖案) or detached head (➦)
- Current branch / SHA1 in detached head state
- Dirty working directory (±, color change)
- root privileges (閃電圖案)
啟用plugin
oh-my-zsh 內建的 plugin 都放在 ~/.oh-my-zsh/plugins
啟用 plugin 一樣是在 .zshrc 中做設定,預設只有git
1 | plugins=(git autojump extract) # 要啟用某個 plugin,就只要加在括號裡即可 |
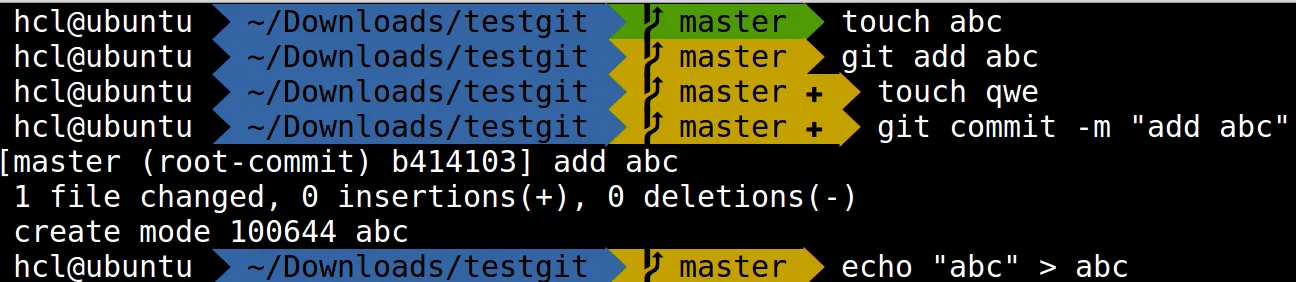
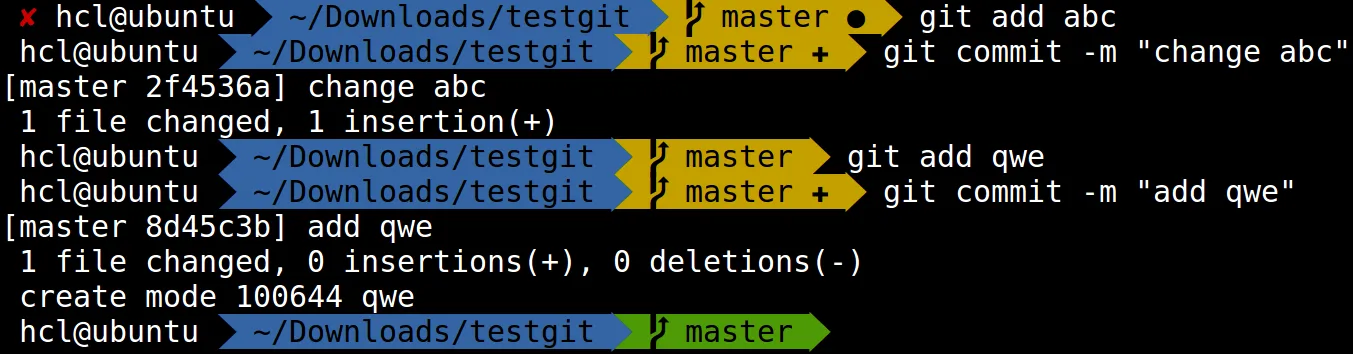
- git:若當前目錄在 git 專案資料夾中,會顯示branch和status,且提供縮寫
![]()
![]()
- autojump:使用方式:
j或autojump加上要到的路徑(可簡寫),autojump會自動找最可能的路徑 - extract:
extract [filename]即可解壓所有壓縮檔
不經密碼登入遠端機器(ssh)
使用ssh金鑰認證
- http://www.linuxproblem.org/art_9.html
- https://blog.longwin.com.tw/2005/12/ssh_keygen_no_passwd/
視窗管理軟體
- screen
- the oldest, not maintained now
- tmux
- accurate automatic window renaming
- client-server model
- byobu
- based on tmux
- more easier to use
- byobu指令
- 比較
- http://superuser.com/questions/236158/tmux-vs-screen
- http://unix.stackexchange.com/questions/549/tmux-vs-gnu-screen
切斷ssh連線
http://serverfault.com/a/283130/293158
SSH session is hanging out hoping the other side will come back
Enter ~ .: send escape sequence by the ssh client
Enter ~ Ctrl+Z: to send the ssh client to the background job queue of your local shell, then fg as normal to get it back
Install package without Root access(sudo)
http://askubuntu.com/questions/339/how-can-i-install-a-package-without-root-access
- dpkg
dpkg -i package.deb --force-not-root --root=$HOME
disadvantage: doesn't automatically resolve dependencies or create the directory structure it expects - apt-get source
1 | apt-get source package |
切換使用者
su <user>- to get back to your user level (or a different user)
- the same as attempting to login remotely as that user, but preserves the environment variables set from the original shell
sudo su <user>- The sudo su command has similar behavior to su, but it changes which password you have to enter, if any. This command requires you to use sudo, which means that the su command will be running as root.
sudo -u <user> -i- If you want to simulate precisely the initial logged in state of another user. The -i option is simulate initial login
- It will create the proper shell, source .bashrc/.bash_profile files, and drop you into the target user’s home directory
- The only use that I can see for this is, as a system administrator, debugging issues that are user specific
搜尋檔案內容: grep
-r - search recursively
-i - case-insensitive search
--include=\*.${file_extension} - search files that match the extension(s) or file pattern only
- 其他選擇:
ripgrep
搜尋檔案名稱: find
1 | find [path] -type f -name [filename] |
取消鎖定畫面
Disabling Lock Screen 18.04
快速切換目錄
- For exactly two directories, use
cd - autojump
從 command line 開啟檔案
1 | open [filename] |
刪除特定檔名以外的檔案
有資料夾 1 - 100 ,要刪除 59 以外的資料夾
find . ! -name "59*" -maxdepth 1 -exec rm -r {} +
擴充磁區
- ubuntu 18.04 server 擴容(LVM)磁碟 解決磁碟不足的情況
- Grep Include Only *.txt File Pattern When Running Recursive Mode
autojump
1 | git clone https://github.com/wting/autojump |
校時
- ntp
- 設定時區
sudo timedatectl set-timezone Asia/Taipei
備份
主要會備份這些資料
https://superuser.com/questions/438450/which-files-do-i-need-to-backup-to-keep-my-linux-user-settings
1 | /usr/local |
CGroup
Linux Cgroup 可讓您為系統中所運行任務(進程)的用戶定義組群分配資源 — 比如 CPU 時間、系統內存、網絡帶寬或者這些資源的組合。您可以監控您配置的 cgroup,拒絕 cgroup 訪問某些資源,甚至在運行的系統中動態配置您的 cgroup。所以,可以將 controll groups 理解為 controller (system resource) (for) (process)groups,也就是是說它以一組處理程序為目標進行系統資源分配和控制。
它主要提供了如下功能:
Resource limitation: 限制資源使用,比如記憶體使用上限以及檔案系統的快取限制。
Prioritization: 優先順序控制,比如:CPU 利用和磁碟 IO 吞吐。
Accounting: 一些審計或一些統計,主要目的是為了計費。
Control: 掛起處理程序,恢復執行處理程序。
使用 cgroup,系統管理員可更具體地控制對系統資源的分配、優先順序、拒絕、管理和監控。可更好地根據任務和用戶分配硬件資源,提高總體效率。
在實踐中,系統管理員一般會利用 CGroup 做下面這些事(有點像為某個虛擬機器分配資源似的):
隔離一個處理程序集合(比如:nginx 的所有處理程序),並限制他們所消費的資源,比如繫結 CPU 的核。
為這組處理程序分配其足夠使用的記憶體
為這組處理程序分配相應的網路頻寬和磁碟儲存限制
限制訪問某些裝置(通過設定裝置的白名單)
ulimit
ulimit 用於限制 shell 啟動進程所占用的資源,支持以下各種類型的限制:所創建的內核文件的大小、進程數據塊的大小、Shell 進程創建文件的大小、內存鎖住的大小、常駐內存集的大小、打開文件描述符的數量、分配堆棧的最大大小、CPU 時間、單個用戶的最大線程數、Shell 進程所能使用的最大虛擬內存。同時,它支持硬資源和軟資源的限制。
https://q248269673.pixnet.net/blog/post/66596238-linux-ulimit%E5%91%BD%E4%BB%A4
ulimit [-aHS][-c <core檔案上限>][-d <資料節區大小>][-f <檔案大小>][-m <記憶體大小>][-n <檔案數目>][-p <緩衝區大小>][-s <堆疊大小>][-t <CPU時間>][-u <程序數目>][-v <虛擬記憶體大小>]
/usr 和 /usr/local 的差別
What I know is:
The /usr directory is where the app installed by the distribution stands.
The /usr/local directory is where the app installed (compiled?) by the system admin stands.
For ex. if you download mplayer and do a ./configure - make - make install it comes to the /usr/local.
https://www.linuxquestions.org/questions/linux-newbie-8/difference-between-usr-and-usr-local-199118/
The /usr/local hierarchy is for use by the system administrator when installing software locally. It needs to be safe from being overwritten when the system software is updated. It may be used for programs and data that are shareable amongst a group of hosts, but not found in /usr.
Locally installed software must be placed within /usr/local rather than /usr unless it is being installed to replace or upgrade software in /usr.
https://askubuntu.com/questions/955956/what-is-the-difference-between-usr-locale-and-usr-local
顯卡相關
nvidia-smi查看GPU狀態
安裝nvidia顯卡驅動
- https://docs.nvidia.com/datacenter/tesla/tesla-installation-notes/index.html#ubuntu-lts
檢查是否成功: nvidia-smi
安裝CUDNN
https://stackoverflow.com/questions/31326015/how-to-verify-cudnn-installation
只需要複製檔案到cuda的目錄下就可以了
sudo ln -s /home/worker/cheney/cuda/lib64/libcudnn.so.8.3.0 /usr/lib/libcudnn.so
檢查cudnn版本
https://blog.csdn.net/qq451882471/article/details/106967942
- 查看 shared library 中有沒有 libcudnn.so 和 libcublas.so
ls /usr/lib |grep lib
- 找到 libcudnn.so 和 libcublas.so 的位置
locate libcudnn.solocate libcublas.sofind / -name *cudnn*
You might have to adjust the path. See step 2 of the installation.
1 | cat /usr/local/cuda/include/cudnn.h | grep CUDNN_MAJOR -A 2 |
檢查cuda版本
1 | cat /usr/local/cuda/version.txt |
mv/cp
mv -vn file1 file2
-vmakes it verbose - mv will tell you that it moved file if it moves it(useful, since there is possibility that file will not be moved)-nmoves only if file2 does not exist.
其他
- 備份已安裝的軟體清單
- use command(like gedit) without occupying terminal
alt-f2→gedit
- 命令列介面字典 - sdcv
- 保持ssh連線狀態
重開網路
https://itsfoss.com/restart-network-ubuntu/
1 | sudo service network-manager restart |